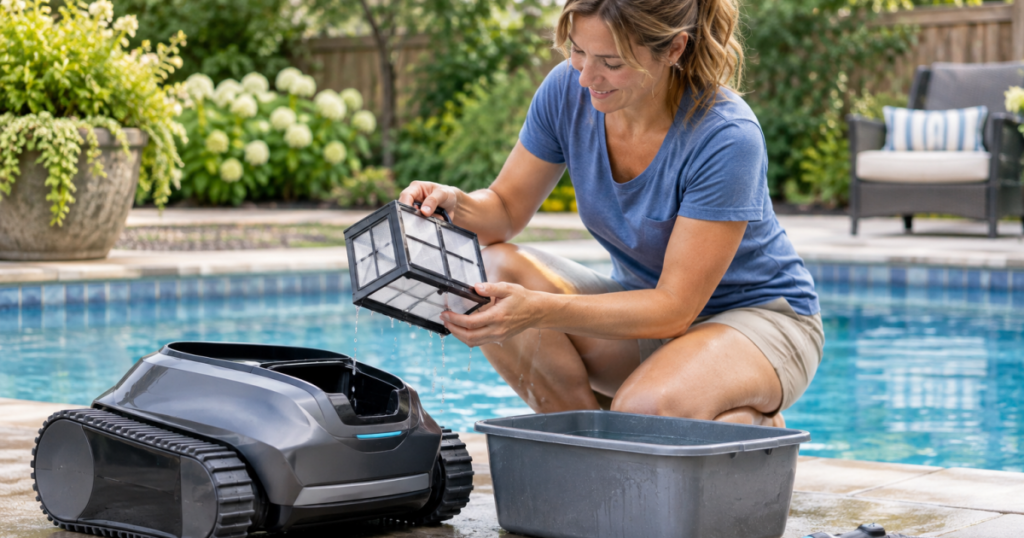
A cleaner pool starts with a good first week, not a perfect first run. The first three robot cleaning cycles are your chance to learn how your pool actually behaves: where debris collects, how the cleaner handles slopes or steps, and what still needs a brush, skimmer, or circulation time. Treat those early runs like mapping sessions and you will build a routine that is faster, calmer, and more reliable before swims.
A robotic pool cleaner is a debris tool, not a complete pool-care system. It can reduce manual vacuuming and visible floor cleanup, but it does not replace water testing, chemical balance, filtration, brushing trouble spots, or safe equipment habits. For a broader breakdown of what shifts off your weekly chore list, start with what a pool robot really takes off your weekly cleaning list.
The short version
Run your new robot three times with a different goal each time. The first cycle is for establishing a baseline. The second is for checking coverage and obstacles. The third is for turning what you learned into a repeatable swim-ready routine.
- Cycle 1: Clean the main floor after removing oversized debris by hand, then note where dirt remains.
- Cycle 2: Run the cleaner under more normal conditions and watch how it handles slopes, corners, ladders, drains, benches, and wall transitions.
- Cycle 3: Choose your default timing, basket-cleaning habit, and quick follow-up tasks so the robot fits your week instead of becoming another chore.
The goal is not to prove that the cleaner is flawless. The goal is to learn what it does predictably in your specific pool.
Before the first run, set the robot up to teach you something
The best first cycle starts with a pool that is dirty enough to reveal patterns but not so overloaded that the cleaner becomes a leaf cart. Skim floating debris, scoop heavy piles from the floor, and remove toys, loose thermometers, and anything that can interfere with travel. If the pool has a large post-storm load, do a rough manual cleanup first.
Take one minute to look at the pool before the robot goes in. Notice the shallow end, main drain area, steps, corners, sun shelf, and return-jet direction. If pollen, sand, acorns, or fine silt always collects in the same place, write that down or take a quick photo. That simple baseline makes the finished cycle much easier to judge.
For cordless models, start with a full charge and use the retrieval method described by the manufacturer. For corded models, lay out the cable so it starts as untangled as possible. Either way, the cleaner needs a fair first run: correct filter basket, closed latch, unobstructed path, and enough time to complete its programmed cycle.
Cycle 1: map the floor, not the whole promise
The first run should answer one question: what does the robot pick up easily from the pool floor? Use the most basic appropriate cycle your cleaner offers. If the robot has multiple modes, resist the urge to test everything immediately. A simple floor-focused run gives you a clearer read on suction, debris loading, navigation, and retrieval.
After the cycle, check three things before you judge the cleaner:
- The basket or filter load: A full basket can make the robot look less capable than it is. Note whether the debris is leaves, grit, pollen, hair, seed pods, or a mix.
- The remaining debris pattern: A few grains scattered randomly mean something different from a repeated pile in the same corner.
- The robot’s stopping place: Retrieval is part of ownership. A cleaner that finishes where you can reach it easily is less annoying to use often.
If the pool looks much better but not perfect, that is normal for a first learning cycle. Fine dust may need a different filter insert if your model supports one. Leaves may require more frequent basket cleaning during peak debris periods. Dirt left on vertical transitions may be a brushing issue, a mode issue, or a geometry issue rather than a failure of the whole machine.
Cycle 2: check the tricky zones
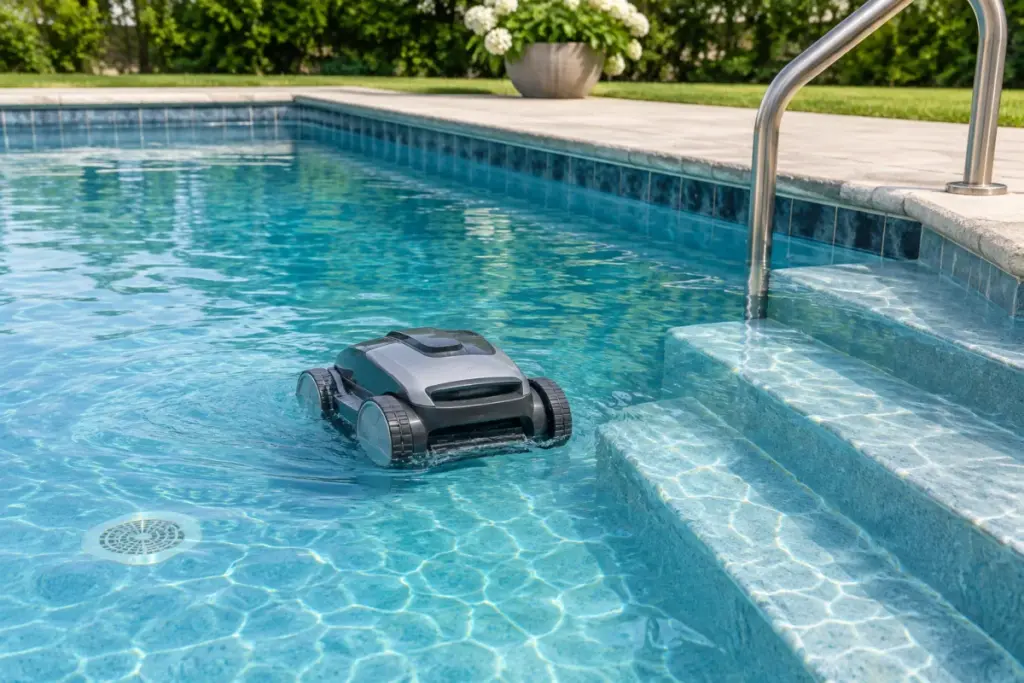
The second run is where you learn whether the robot fits the shape of your pool, not just its size. Start from a normal pool condition: not freshly vacuumed, not buried in storm debris, and not staged to make the robot look good. Run the mode you expect to use most often, such as floor only, floor and walls, or a full cleaning cycle if your model offers it.
Watch for five minutes near the beginning and five minutes later in the cycle. You are not babysitting; you are looking for repeatable behavior. Does the cleaner approach the deep-end slope cleanly? Does it stall near a ladder? Does it climb partially onto steps and back away? Does it spend meaningful time in the shallow end? Does it keep returning to one wall while ignoring a debris pocket?
Pool geometry matters more than marketing language here. Steps, benches, tanning ledges, sharp floor breaks, raised drains, and tight corners can challenge robots differently. A published coverage claim may say floor, wall, or waterline, but the ownership question is narrower: does that coverage matter in your pool on a normal week?
After Cycle 2, decide what needs adjusting:
- If debris remains near returns: Run the robot after circulation has had time to settle debris, or brush that zone first.
- If corners stay dirty: Add a quick brush pass before the cycle rather than running the robot twice every time.
- If leaves overload the basket: Skim or net heavy debris first during leaf season.
- If fine dust passes through: Check whether your cleaner has a finer filter option and confirm it is meant for your model.
Cycle 3: build the routine you will actually keep
By the third run, you should stop asking, “Can this robot clean the pool?” and start asking, “When should I run it so the pool is ready when people want to swim?” That is the difference between owning a clever machine and having a useful backyard routine.
Pick one real-life target for Cycle 3. Maybe you want the pool ready before Saturday afternoon. Maybe you need a cleanup after lawn mowing. Maybe the issue is daily pollen along the shaded side. Run the cleaner at the time you think will become normal, then judge the result against that target.
A solid default routine often looks like this:
- Skim the surface if floating debris is obvious.
- Brush steps, benches, and tight corners that the robot does not reliably scrub.
- Run the robot early enough that debris can settle and the cleaner can finish before swimming.
- Empty and rinse the basket after the cycle instead of leaving wet debris inside.
- Store and charge the cleaner according to the manufacturer’s instructions.
For many pool owners, the best schedule is not “run it every day” or “run it only when the pool looks bad.” It is a rhythm tied to use and debris: before guest days, after windy weather, during pollen bursts, and once or twice during a normal week if the pool sees steady use.
How to read the evidence in the basket
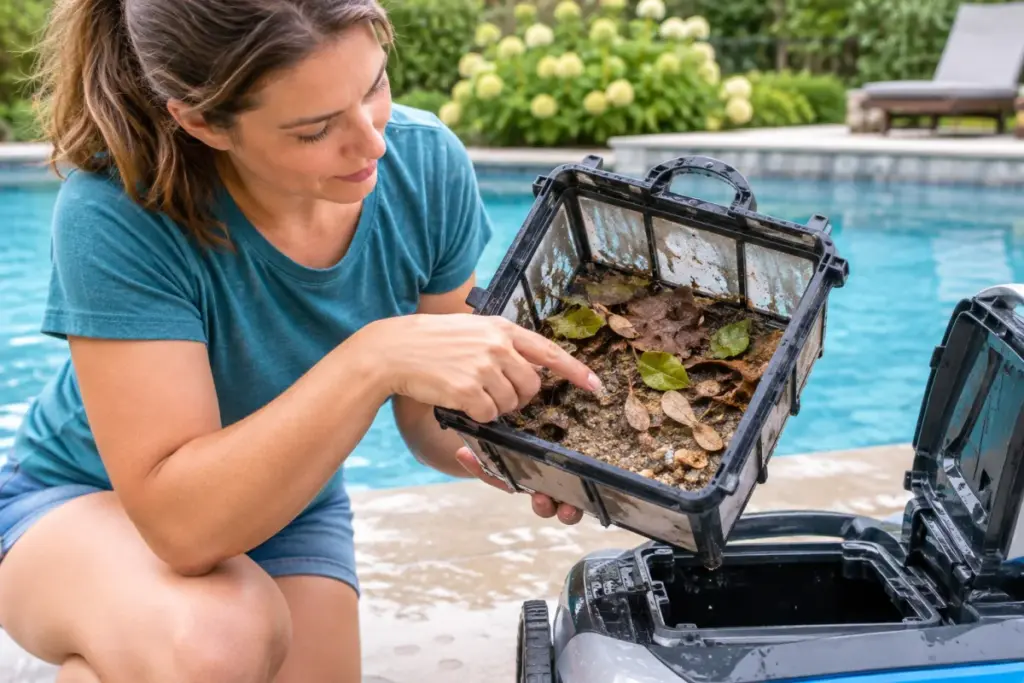
The filter basket is the robot’s report card. It tells you what the pool is fighting that week and whether your routine needs to change.
- Large leaves and seed pods: The robot is doing visible cleanup, but pre-skimming may save time and reduce basket overload.
- Sand or grit: Check nearby landscaping, pavers, beach-entry areas, and foot traffic. You may need a consistent floor cycle more than extra wall cleaning.
- Fine yellow or greenish dust: Pollen and algae-like residue can look similar. The robot can collect settled material, but water testing and treatment are separate jobs.
- Hair and fibers: Expect more brush and track inspection, especially after heavy swim days.
- Very little debris: That can be good news, or it can mean the debris is staying suspended until filtration settles it. Timing may matter more than cycle length.
This is also where the first three robot cleaning cycles become useful beyond startup week. Whenever the pool changes season, debris type, or usage pattern, repeat the same observation process for a few runs.
What this teaches you about corded and cordless robots
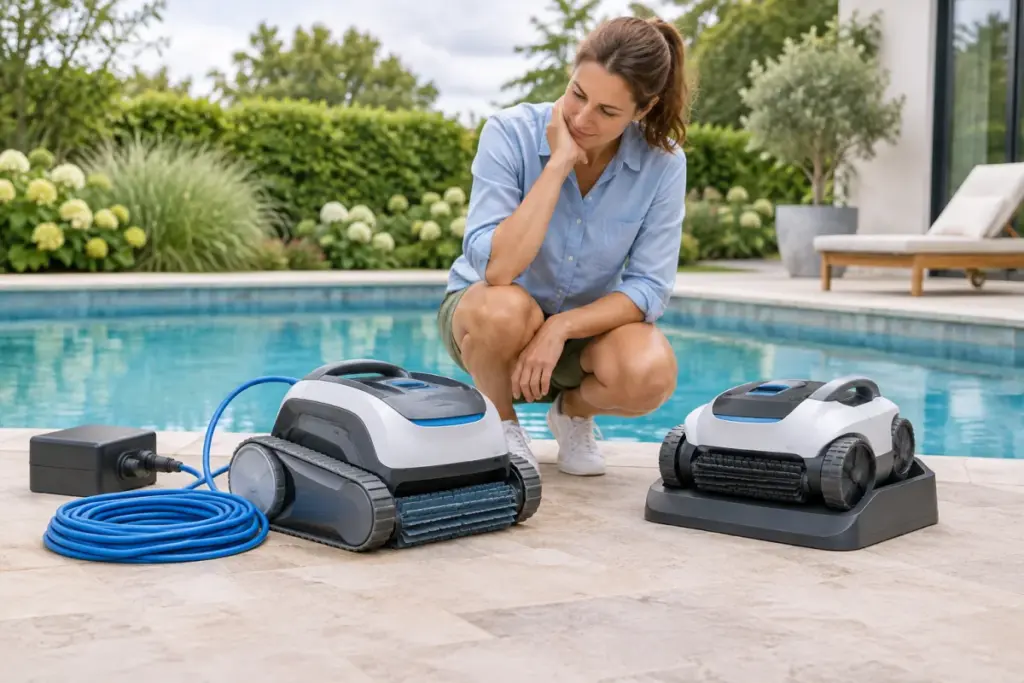
The three-cycle plan works for both corded and cordless cleaners, but it reveals different ownership trade-offs. Corded robots remove charging from the routine, while cordless robots remove cable management and can feel more spontaneous for quick cleanups. Neither format automatically wins for every pool.
With a cordless cleaner, pay close attention to whether the claimed runtime aligns with the way you want to use it. A pool with lots of floor area, heavy debris, or multiple trouble zones may demand more planning than a compact pool with light weekly dirt. With a corded cleaner, watch cable behavior, reach, and how much effort it takes to deploy and pack away.
If you are still comparing models, the Cordless Pool Robot Model Tracker is useful for checking current cordless options and comparing published model details without treating one headline spec as the whole story. Detail pages such as the WYBOT C1 page can help you see how individual models are categorized before you compare them against your pool shape and routine.
Common mistakes during the first week
Expecting one cycle to solve a neglected pool
A robot can remove debris, but it is not magic with tracks. If the pool floor is buried, do a coarse cleanup first. Heavy debris loads can clog baskets, hide navigation issues, and make any cleaner look worse than it is.
Judging wall cleaning before the floor routine is understood
Wall and waterline cleaning are valuable when the robot and pool support them well, but most owners notice floor debris first. Establish the floor routine before obsessing over every vertical surface.
Ignoring the filter after each run
A dirty basket reduces the usefulness of the next cycle. Empty it, rinse it, and look for wrapped hair, leaves wedged in corners, or fine debris coating the screen. Five minutes here can prevent a lot of confused troubleshooting later.
Running cycles without changing anything
If the same corner stays dirty, repeating the identical cycle may only confirm the pattern. Brush that corner first, change timing, remove an obstacle, or use a more suitable mode if your cleaner offers one.
Main lessons
Your first week with a robotic pool cleaner should be practical, not ceremonial. Cycle 1 shows what the cleaner removes from the floor. Cycle 2 shows how your pool shape affects coverage. Cycle 3 turns those observations into a routine that supports actual swimming, not just cleaner-looking water at random times.
The best outcome is confidence. You know when to skim, when to brush, when to run the robot, and when the issue is really filtration or water care. That is how a pool robot becomes part of a swim-ready system rather than another gadget sitting by the equipment pad.
Common questions
Should I run a new robotic pool cleaner twice on the first day?
Only if the first basket fills quickly or the pool started unusually dirty. For a normal pool, one complete first cycle followed by inspection is more useful than stacking runs without learning from the result.
Do I need to brush before every robot cycle?
Not always. Brush before a cycle when steps, corners, ledges, or wall transitions are the recurring problem. If debris is mostly loose on the floor, the robot may be enough for the routine cleanup.
Can I swim right after the robot finishes?
Follow the manufacturer’s instructions for removing and storing the cleaner, and keep normal water testing and treatment habits in place. A debris-free floor does not by itself confirm balanced, swim-ready water.
How soon should I decide whether the robot is a good fit?
Give it several normal-use cycles unless there is an obvious defect or compatibility problem. A pool with slopes, steps, trees, or fine dust may need small routine adjustments before the cleaner’s real fit becomes clear.